
Xink for Mail application on MAC OS
If your signature has been created on Xink server you will need to ask us for a Verification Code.
This code will be sent by mail.
1. Retrieve your Access Code
As soon as you received the mail from Xink, click on "Click this link to retrieve your Access Code" :

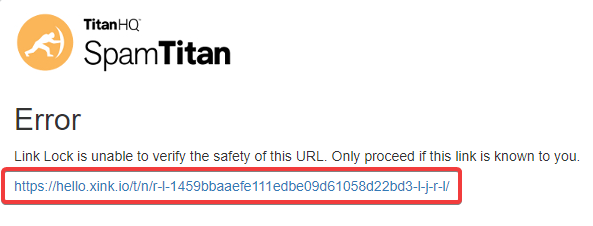
Then, click on the link below :
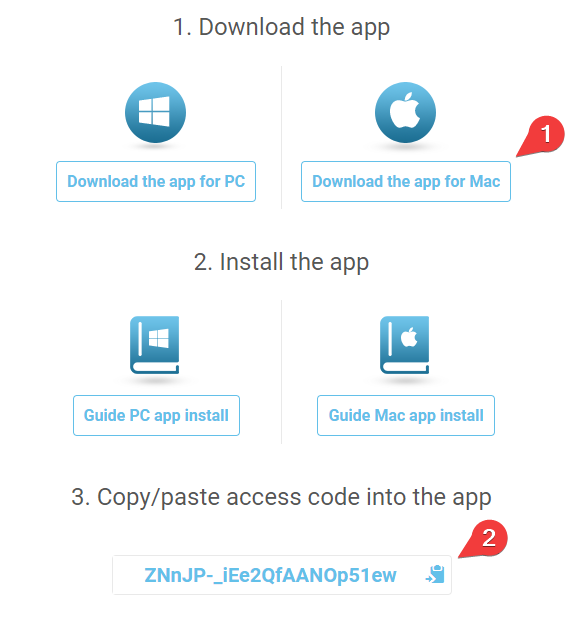
On the next step, click on "Download the app for Mac" and Copy/Paste the generated code.
This Code will be necessary for the next step in order to registered your account and link Xink to your email account
2. Download Xink software on your Mac
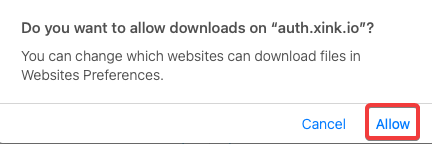
Click on "Download the app for Mac and next on "Allow" :
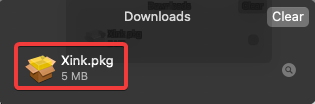
You will the the downloaded file in your download folder:
3. Install Xink software on your Mac
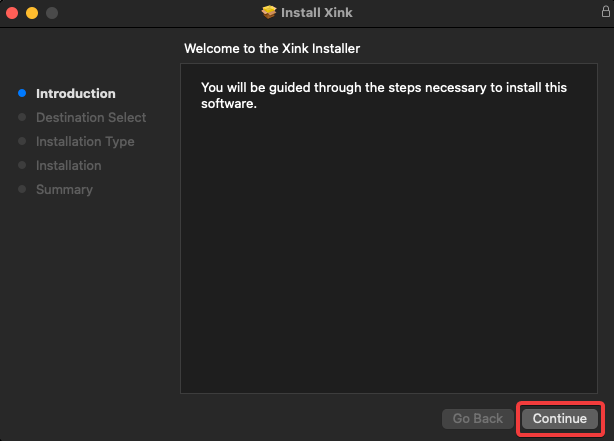
Just double click on the Xink.pkg file to launch Xink installation :
Then, click on "Continue" to start the installation :
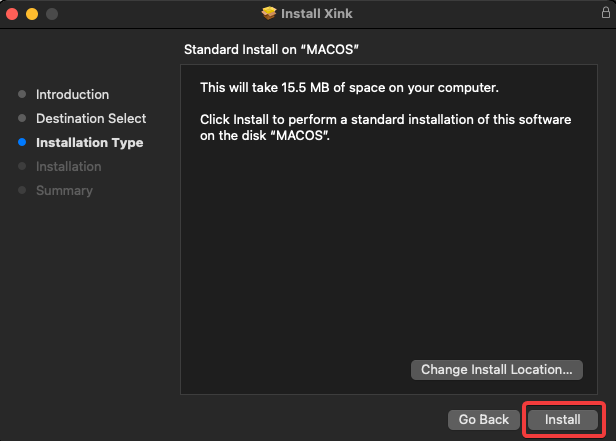
Click on "Install" :
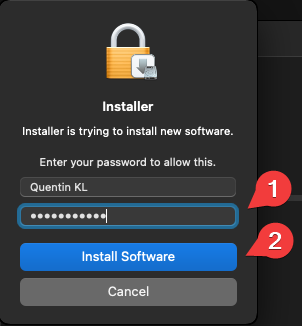
Enter your Mac password and click on "install Software" :
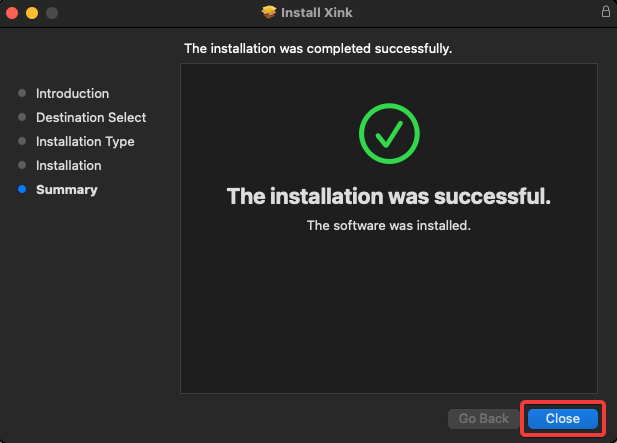
Click on "Close" to finish Xink installation :
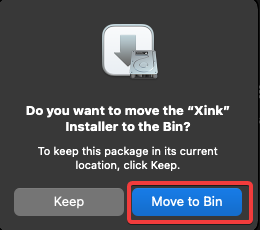
Click on "Move to Bin" to trash the installer package :
4. Launch Xink and Configure the application
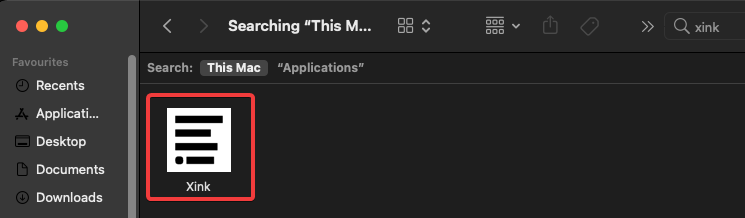
Open your "Finder", then go in "Application", search for Xink and double click on it to launch the application :
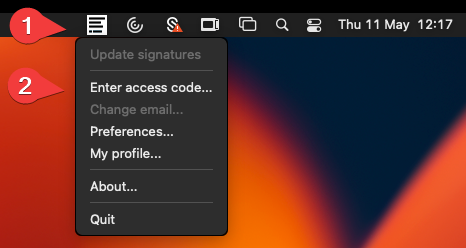
Click on Xink application at the upper right, then click on "Enter access code" :
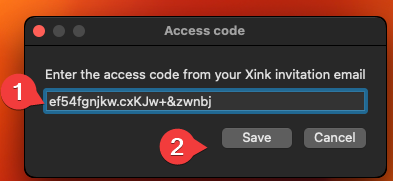
Paste your access code and click on "Save":
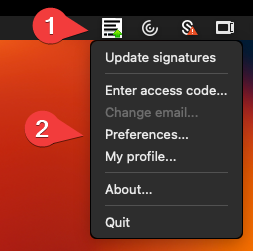
Then, click on Xink logo, and "Preferences" :
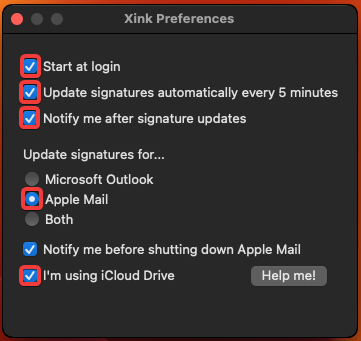
Tick "Start at login", "Update signature automatically every 5 minutes", "Notify me after signature update".
Tick "Apple Mail"
Tick "I'm using iCloud Drive"
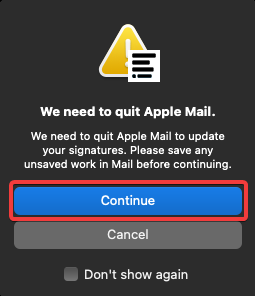
Close Apple Mail, then click on "Continue"
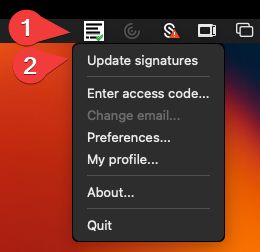
Open Xink and click on "Update signatures"
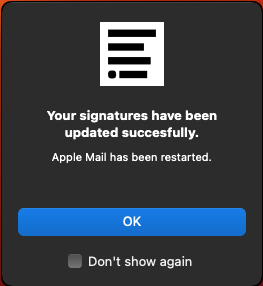
Your signature have been updated succesfully, just click on "OK"
5. Open Mail and then configure your signature
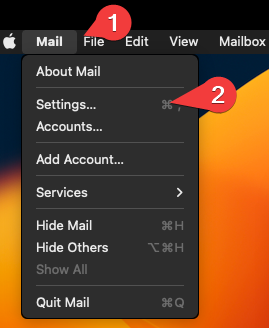
Click on Mail logo application
Then go to : "Mail" and click on "Settings"
Then, click on "Signatures"

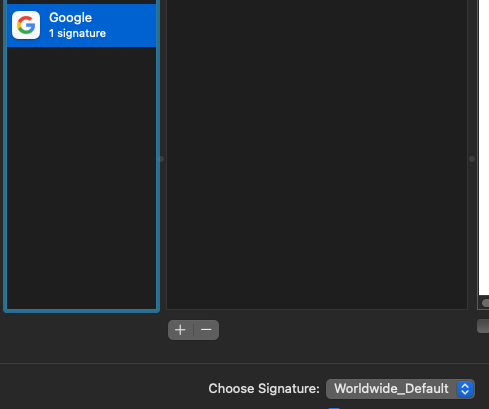
You will now see your signature here
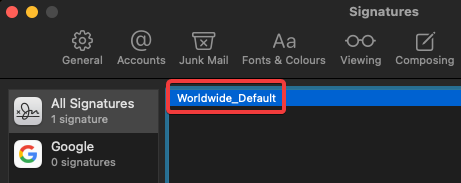
Simply click on it and Drag and Drop the signature in the Google account
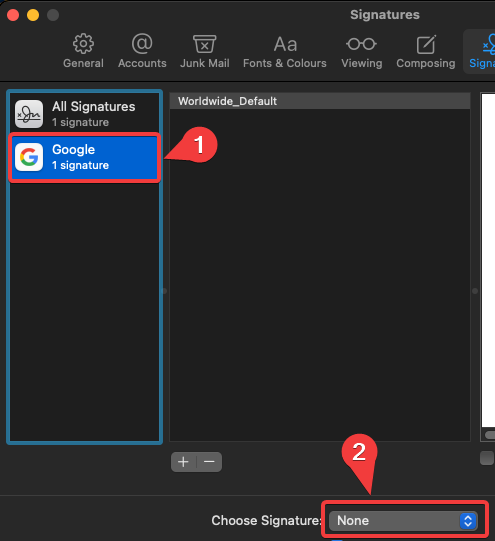
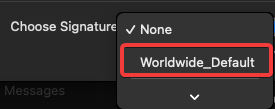
Finaly, select your Google signature and click on "None" to choose and select the correct signature for your account.
Iin this example, the signature named associated with the account is "Worldwide_Defaut"
Finaly it should be like this
You should now be able to see your signature as soon as you click on create an email in the Mail App.