
Xink for Microsoft Outlook on Windows
If your signature has been created on Xink server you will need to ask us for a Verification Code.
This code will be sent by mail.
1. Retrieve your Access Code
As soon as you received the mail from Xink, click on "Click this link to retrieve your Access Code" :

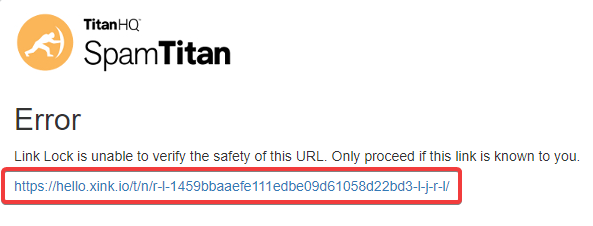
Then, click on the link below :
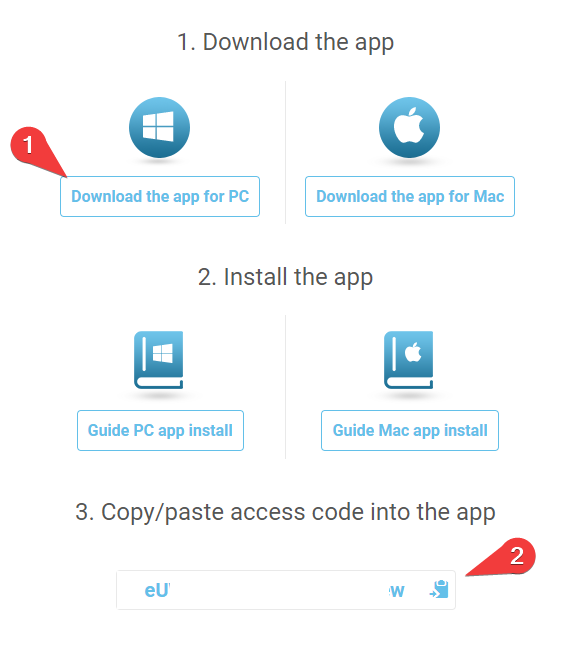
On the next step, click on "Download the app for PC" and Copy/Paste the generated code.
This Code will be necessary for the next step in order to registered your account and link Xink to your email account
2. Download Xink software on Windows computer
Click on "Download the app for Mac and next on "Allow" :

3. Install and Configure Xink software on computer
Just double click on the xinkClient.msi file to launch Xink installation.
As soon as the installation is finished, simple paste your Code in the "Access code" field.
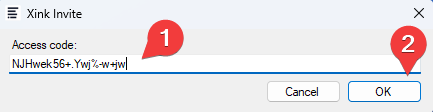
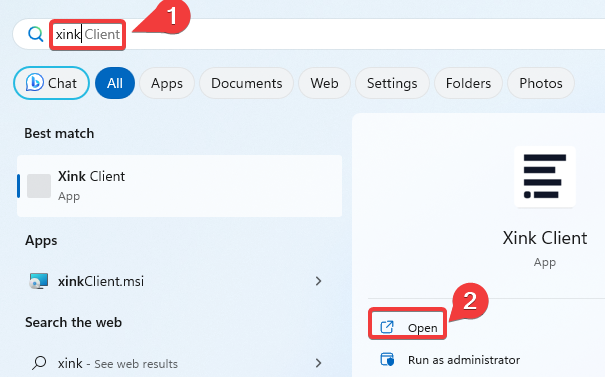
If the windows Xink Invite Access code above does not open automatically, simply launch Xink from the Windows Start Menu
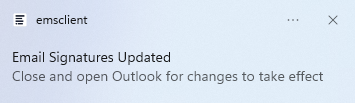
As soon as you enter the Code and Xink finish the synchronization you should see this notification.
(At the bottom right of your screen)
4. Open Outlook and configure your signature
Normally and in general, Xink signature will be automatically pushed for New mail and Reply/forwards on your gmail account.
If it's not the case, simply follow the procedure below :
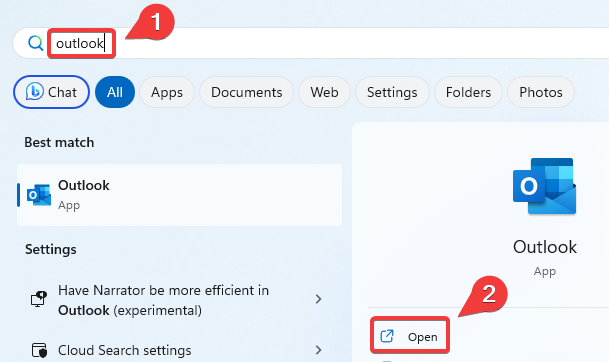
Click on the Windows Start Menu Logo
Then, search for "Outlook" and click on "Open" to launch Outlook application
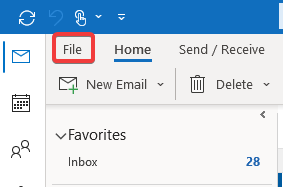
When Outlook is open, click on "File"
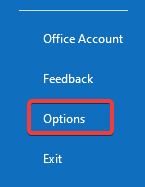
Then click on "Options"
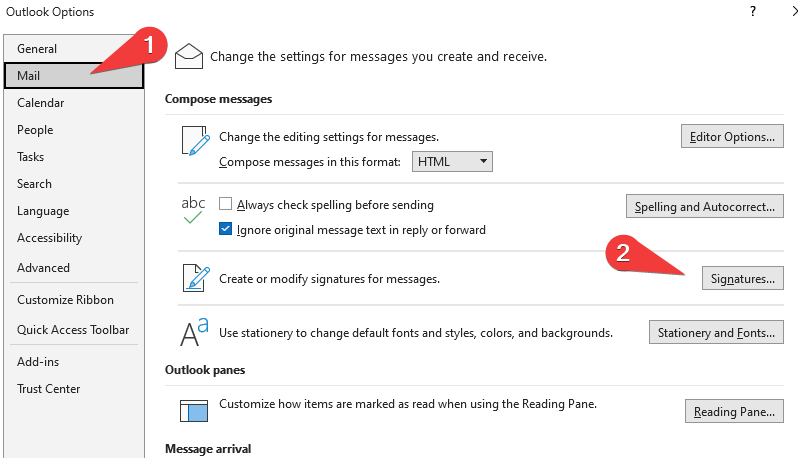
NMext, choose "Mail" and finally "Signatures"
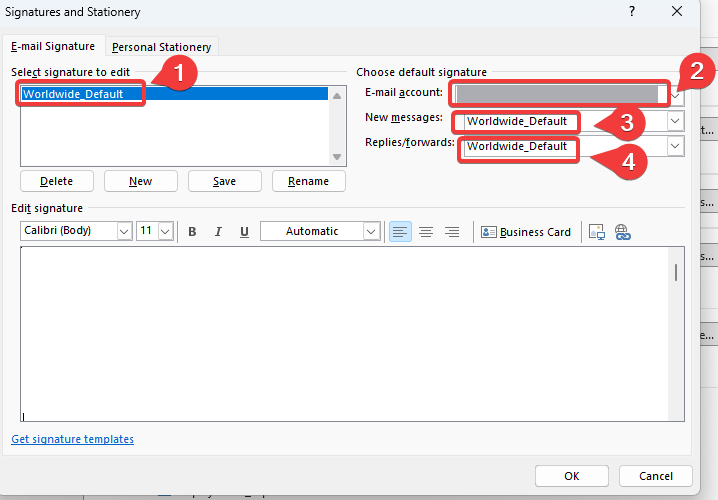
Then verify that the signature is well configured like the screen below :
In this example, signature name is "Worlwide_Default"
1 : Your signature name
2 : Your Gmail email address account
3 : Your signature name for the New messages
4 : Your signature name for the Replies/Forwards message
You should now be able to see your signature as soon as you click on create a new email in Outlook application